

My Jar Lamp Shade Tutorial
This tutorial is written by me, it is for your as a guideline to learn and gives you the opportunity to be creative. Please do not claim this tutorial as yours, do not copy and paste it on any websites, forums, blogs without my permission. I work really hard writing these tutorials for people who wants to learn.
I really want to keep my Tutorial for free to be used, so please have
respect for the people who write tutorials for you. My tutorials I write are my
own aspiration that I enjoy doing this for people who like to try. If you like to
use this Tutorial for your Website, Blog, Forum all you need to do is send them to my blog, where the Tuts are. You can also find me over at Creative Chicks Forum
Let’s get started


Supplies you need
I have zipped up the supplies that
you need below.
My Jar Selection
Click Here to get the Supplies for the Jar
Open your Paint Shop
Open new image to 700x700 and
make sure the transparent is checked. You should have plenty of room to
work in.
You will need to create 5 Layers and
If I were you, I would make sure to Label them what they are.
Which they are: Line of Jar, Bottom,
Glass, Rim, and Top
After you got all your Layers all
done you are ready to put the Jar together.
Go to your Toolbar and find
Selections
Click selections, Drop Down window
will appear and find Load/save Selections
Side Drop Window will appear and
click on Load Selection to Disk
Find the Folder My Jar and click on it
You should see 5 items in the folder
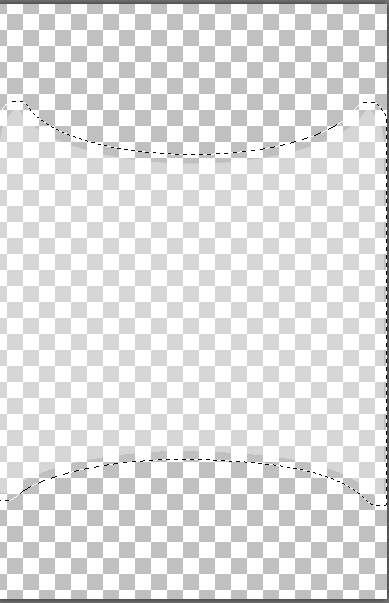
Let's start with the Body (line) Jar selection,
which is the line of the jar. Click
on it and click load. You will see those Marching Ants that shows you the outline of the Jar. Make sure the
Layer you are working on is highlighted in blue. We are going to Color the
Lines of the Jar. Click on your Flood Fill Tool and pick any color you want.
When you choose a color, you need to fill that color in between the lines. The
lines should be whatever color you choose. You can now click on selection and
click none. So, the Marching Ants are not there anymore.
Don’t worry about how the jar looks like
right now, I will be showing you later on how to move everything to the center.
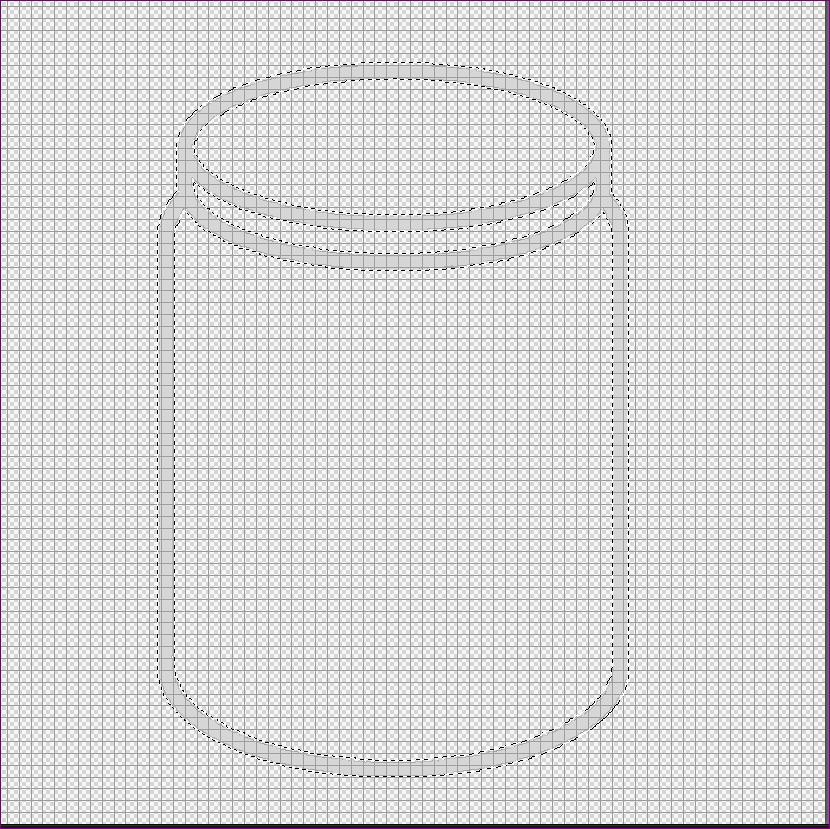
So, your Body Line Jar Layer should
look something like this
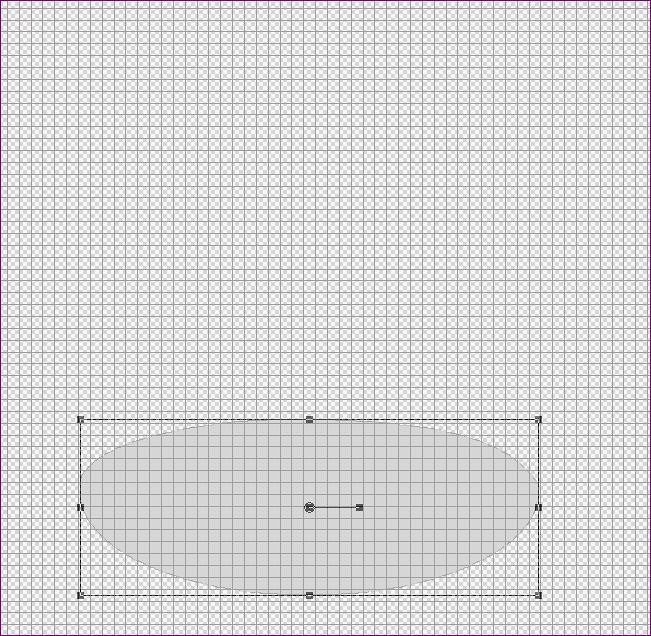
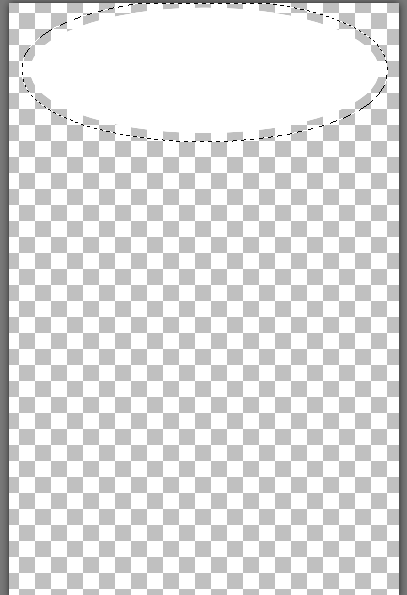
Lets go to the next Layer Bottom selection
do the same thing, click on Selection, click on Load/Save Selection, and click on Load Selection to Disk. Find the fold My Jar and click on Bottom and Load.
(Make sure that the Bottom Piece is Label Bottom and its above the Jar Line, Hide the Jar Line so you only see the one you are working on.)
You should see the marching ants outlining the image, this means you are ready to use your Flood Fill Tool and pick a color and fill the bottom selection whatever color you choose. If you are happy with what you see so far, click on Selection and click none. So, the Marching Ants are not there anymore.
It should Look like this, when it's done
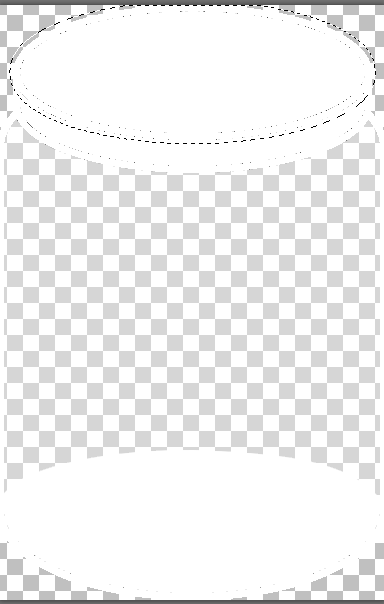
Lets go to the next Layer Jar Glass selection
do the same thing, click on Selection, click on Load/Save Selection, and click on Load Selection to Disk. Find the fold My Jar and click on Jar Glass and Load. You should see the marching ants outlining the image, this means you are ready to use your Flood Fill Tool and pick the color white and fill the Jar Glass selection.

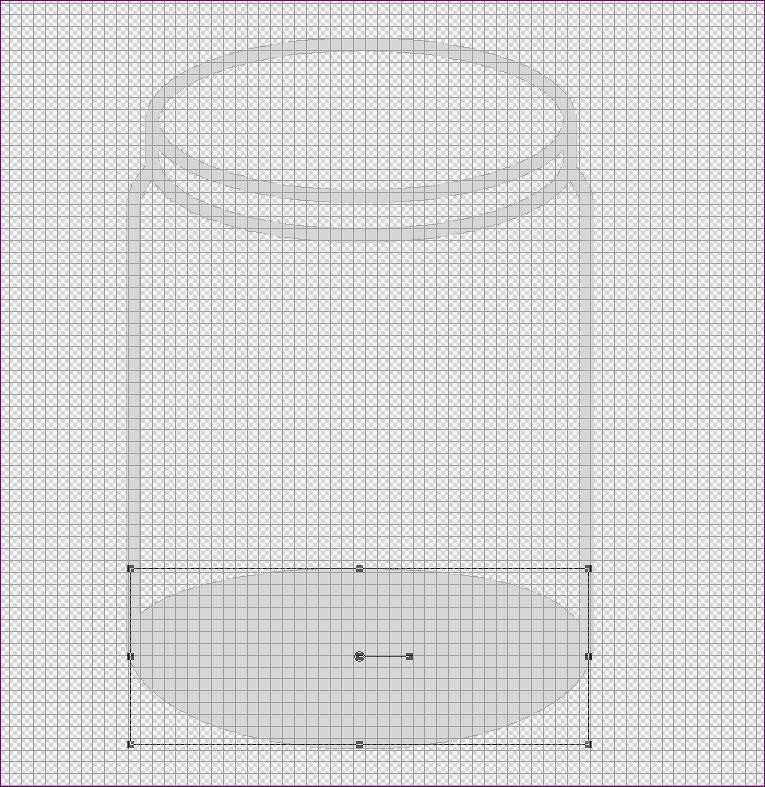
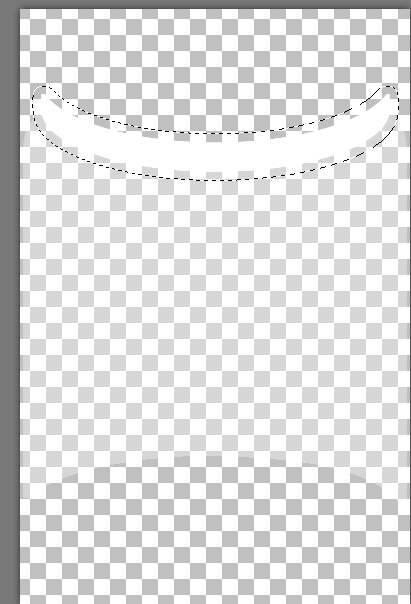
Lets go to the next Layer Jar Rim Selection
do the same thing, click on Selection, click on Load/Save Selection, and click on Load Selection to Disk. Find the fold My Jar and click on Jar Rim and Load. You should see the marching ants outlining the image, this means you are ready to use your Flood Fill Tool and pick any color you want and fill the Jar Rim selection.
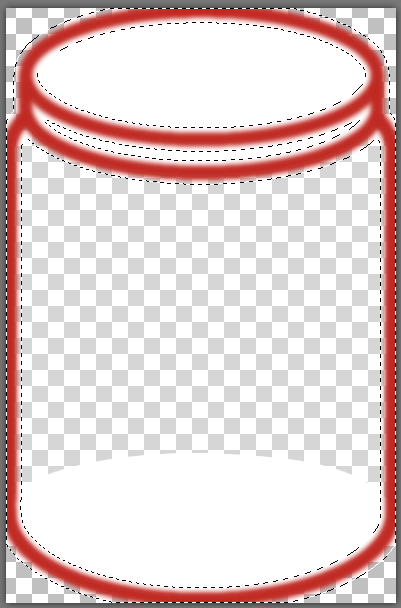
So Your Jar Rim Layer should look something like this, before you fill the color, make sure you have those Ants Marching

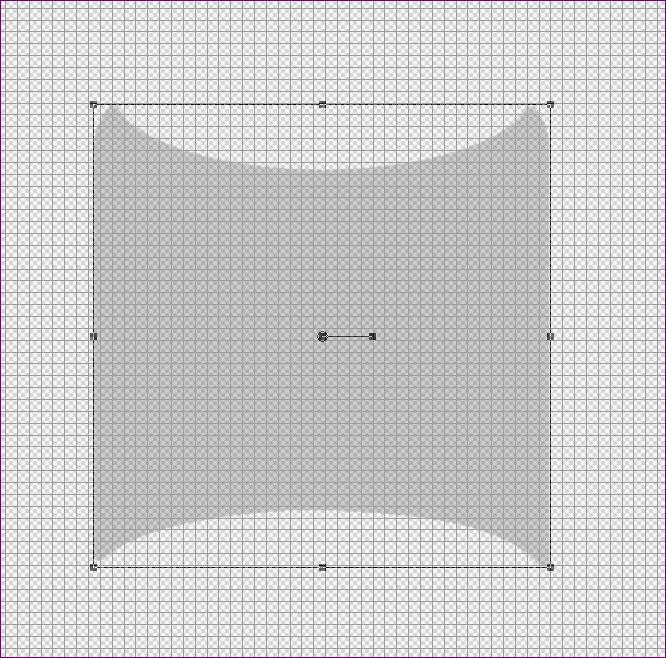
Lets go to the next Layer Jar Lid1 Selection
do the same thing, click on Selection, click on Load/Save Selection, and click on Load Selection to Disk. Find the fold My Jar and click on Jar lid1 and Load. You should see the marching ants outlining the image, this means you are ready to use your Flood Fill Tool and pick any color you want and fill the Jar lid1 selection.
Let’s make sure we center the jar; this is how you do it.
You need to go to your Layer Palette on your right - You see all your Layers you have done
You need to make sure all those
layers are highlighted in blue
Your first Layer should be already Highlighted
Hold your Control Button and Click
the next Layer
And you just keep doing that until
it looks like this

If your Layers look like the above image then you are ready to go on to the next step.
On your Tool bar in your program you
will need to click Objects
Then click Align
And go all the way down until you
see Horiz Center in Canvas
Your Jar should be in the center of
the canvas now.
Make sure your Layers are in order, if they are not just drag them up or down wherever they need to be at. Just like the Image above
Now we need to go back to the Glass Layer
Click on the Glass Layer so it will
be active
You should see on your Layer Pallet
the word Normal and the number 100
This is called Blend Mode
If you don’t see it on your Pallett,
click on your Flood Fill Tool and you will see it on the tools where you can
change the settings.
We need to click the little arrow
that is next to the word Normal, you will get a drop-down window with all the
Blend modes
We need to click on Soft Light, it should look little bit more darker and faded.
Your Jar should now look like this

We have couple more things to do with the Jar and then we will start with Making the Lamp Shade.
Since your Jar looks like a Jar now we are going to design the Lid and put something in the jar.
Click your outline Layer and use your Magic wand tool and click the Outline of the Jar
Now we are going to pick out a Free image background that matches the Jar above

No comments:
Post a Comment